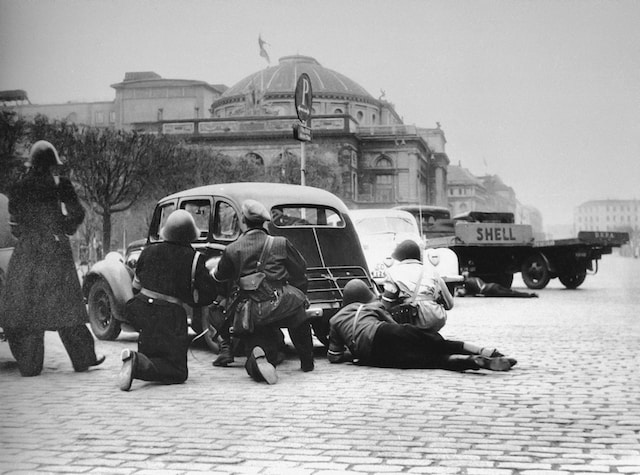

War has always been about chaos. And while some try to kill or take over…
World War II

Continue Reading
Famous Concerts & Shows to Keep Troops Entertained During Wartime
Wartime isn’t all about guns, tanks and death, but also a mental game. No matter…
Blog
Continue Reading
The End of the War and the Legacy of the Lancers: History and Postwar Influence
World War II ended in 1945, but the legacy of the Lancers, the Wehrmacht’s elite…
Blog
Continue Reading
Famous Lancer Operations: Wehrmacht Elite Warriors in Action
The Lancers, or “Lancersturm,” were elite Wehrmacht warriors of World War II who specialized in…
Blog
Continue Reading
Ethics and Morality in War: The Line between Defense and Violation of Principles
War, as one of the most destructive and terrible phenomena of human history, always raises…
Blog
Continue Reading
Intelligence and Information Warfare: The Secret Battles for Knowledge in Wars and Conflicts
Intelligence and information warfare are important and integral elements of any military conflict or crisis….
Blog
Continue Reading
The Role of Lancers in World War II: The Great Information Hunt and Destructive Raids
World War II remains one of the most destructive and significant events in human history….
Blog
Continue Reading
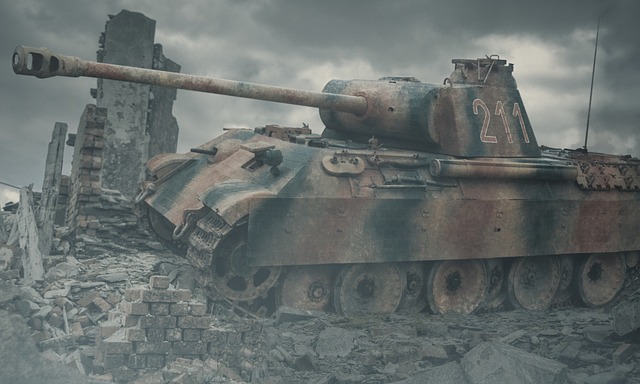
World War II Lancers Specialties of the equipment and armament of World War II Lancers
During World War II, the Lancers, or “Lancerssturm,” were elite Wehrmacht troops specializing in reconnaissance…
Blog
Continue Reading
Lancers: The Wehrmacht’s Elite Warriors of World War II
During World War II, Germany stunned the world with its military innovations and strategic decisions….
Blog
Continue Reading
World War II Lancers: History and Role
During World War II, a multitude of nations employed a variety of tactics and strategies…